You have likely heard the term tossed around by insurance agents, real estate brokers, or contractors: “mitigation.” They talk about wind mitigation credits, flood mitigation plans, or radon mitigation systems. But when you are just trying to keep your home safe and your bills low, the jargon can feel overwhelming. You might find yourself asking, “What is the actual work involved here?”
In simple terms, what does mitigating your house mean? It means taking specific, proactive actions to reduce the severity of future damage. It is the difference between hoping a storm doesn’t hurt your roof and installing hurricane straps so you know it won’t. It is the shift from reacting to disasters to preventing them.
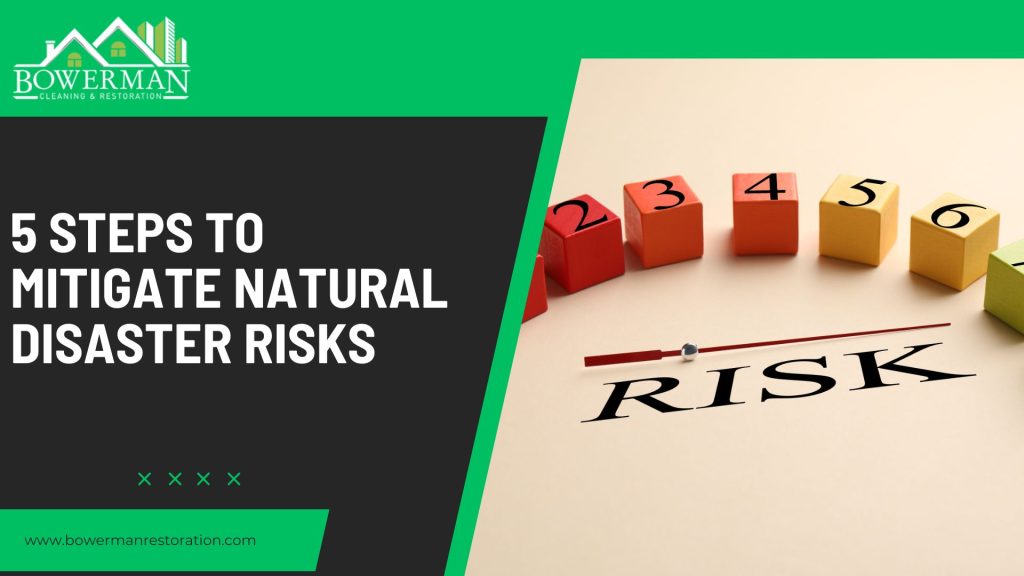
Whether you are looking to lower your insurance premiums or simply sleep better during a heavy storm, understanding mitigation is your most powerful tool as a homeowner. This guide will move beyond the definitions and give you a concrete, five-step plan to future-proof your property against the unpredictable weather of the Tri-State area.
Key Takeaways
- Definition: Mitigation is any sustained action taken to reduce or eliminate long-term risk to people and property from hazards.
- Financial Benefit: Proper mitigation often leads to direct reductions in homeowners insurance premiums.
- Proactive vs. Reactive: While restoration fixes damage, mitigation prevents it from happening or limits its scope.
- Structural Steps: Key actions include elevating utilities, reinforcing roof-to-wall connections, and installing sump pumps.
- Professional Assessment: Some risks, like mold or hidden water intrusion, require professional diagnostics to effectively mitigate.
Overview
For many homeowners, the concept of “mitigation” is abstract until a disaster strikes. However, waiting for a crisis is the most expensive way to manage a home. What does mitigating your house mean in a practical sense? It involves a series of strategic improvements—some small, some structural—that harden your home against specific local threats like Nor’easters, flash floods, and freezing temperatures.
This article outlines five actionable steps you can take right now. We will explore how to assess your specific vulnerabilities, the hardware upgrades that offer the best return on investment, and why professional partners are often necessary for the heavy lifting. By the end, you will have a clear roadmap to a safer, more resilient home.
Step 1: Assess Your Vulnerabilities
Before you can fix a problem, you have to find it. Mitigation starts with a honest audit of your property’s weak points. This isn’t just about looking for cracks; it’s about understanding how your home interacts with its environment.
The Water Audit
Water is the single most destructive force for homes in Westchester and Fairfield counties. Start by looking at your drainage.
- Grade: Does the ground slope away from your foundation? If the soil has settled over time, water might be pooling against your basement walls.
- Gutters: Are your downspouts extending at least five feet away from the house?
- Sump Pump: Do you have a backup battery? A pump that only works when the power is on is useless during a major storm.
The Wind Audit
Our area frequently experiences high wind events. Check your roof for loose shingles and ensure your garage door is rated for wind impact. The garage door is often the largest opening in a house; if it fails during a storm, the pressure change can lift the roof off the structure.
Step 2: Fortify the Shell (Wind and Water)
Once you know the risks, you start the physical work. This is the core of what does mitigating your house mean: strengthening the envelope of the building.
Roof Reinforcement
Your roof is your first line of defense. Mitigation here goes beyond patching leaks.
- Hurricane Straps: These metal connectors tie the roof rafters to the wall plates. In older homes, the roof basically sits on the walls by gravity. Straps ensure that high winds can’t lift it off.
- Secondary Water Resistance: If you are re-roofing, ask for a sealed roof deck. This involves taping the seams of the plywood sheathing so that even if the shingles blow off, water cannot enter the attic.
Window and Door Protection
Flying debris breaks windows, which then allows wind and rain to destroy the interior.
- Impact Glass: Consider upgrading to impact-resistant windows if you are in a coastal zone.
- Storm Shutters: Functional shutters (not just decorative ones) provide a physical barrier against debris.
Step 3: Elevate and Protect Utilities
When we talk about flood mitigation, we aren’t always talking about raising the entire house on stilts. Often, it means raising the expensive systems that keep the house running.

The Basement Strategy
In many local homes, the furnace, water heater, and electrical panel are in the basement. If a flash flood occurs, these are the first casualties.
- Elevation: Hiring a professional to raise your furnace or water heater even 12 inches off the floor can save you thousands of dollars in replacement costs.
- Fuel Tanks: Anchoring oil or propane tanks prevents them from tipping over and floating away, which causes a massive environmental hazard and cleanup bill.
Electrical Safety
If your main electrical panel is in a flood-prone area, consider relocating it to a higher floor. At a minimum, ensure all basement outlets are GFCI (Ground Fault Circuit Interrupter) protected to prevent electrical fires when water rises.
Step 4: Manage Moisture from the Inside Out
Mitigation isn’t just about stopping a flood; it is about controlling the day-to-day moisture that leads to mold. This is often called “environmental mitigation.”

Humidity Control
In our humid summers, basements and crawlspaces act as sponges.
- Dehumidification: Installing a commercial-grade dehumidifier that drains directly into a sump pump or line ensures that humidity stays below 60%, inhibiting mold growth.
- Vapor Barriers: Encapsulating a dirt crawlspace with a thick plastic liner stops moisture from rising out of the ground and rotting your floor joists.
Ventilation
Proper attic ventilation (soffit and ridge vents) prevents ice dams in the winter. Ice dams are a classic example of what does mitigating your house mean: fixing the airflow prevents the ice, which prevents the leak, which prevents the water damage.
Step 5: Prepare for the “Aftermath” (Reactive Mitigation)
Even the best-prepared home can suffer damage. The final step of mitigation is knowing exactly what to do immediately after an event to stop the damage from spreading.
The 24-Hour Rule
As defined by the FEMA, immediate mitigation actions taken within 24 hours of a disaster can significantly reduce the total loss.
- Water Extraction: Standing water must be removed immediately.
- Board-Up Services: If a window breaks, covering it with plywood immediately stops rain from soaking the interior.
- Tarping: If the roof is damaged, professional tarping prevents the next rainstorm from causing a ceiling collapse.
Understanding that mitigation is an active, ongoing process—not a one-time fix—is crucial. It requires having a relationship with a professional restoration company before the disaster happens.
The Financial Benefits: It Pays to Mitigate
Many homeowners view mitigation as an expense, but it is actually an investment.
- Insurance Discounts: Many insurers offer “wind mitigation credits” for upgrades like hurricane straps or impact windows. Ask your agent about a wind mitigation inspection.
- Resale Value: A home with a dry basement, a reinforced roof, and a new sump pump commands a higher price and sells faster than a home with a history of water issues.
- Cost Avoidance: According to the National Institute of Building Sciences, every $1 spent on hazard mitigation saves the nation $6 in future disaster costs. For homeowners, the ratio can be even higher.
When to Call a Professional
While you can extend downspouts yourself, many aspects of mitigation require expert hands.
Bowerman Cleaning & Restoration
Locations Serving You:
- White Plains: 7 Intervale Street, White Plains, NY, 10606 (+1 844 269 3762)
- Nyack: 99 Main St, Nyack, NY, 10960 (+1 844 269 3762)
- Stamford: 6 Landmark Square 4th Floor, Stamford, CT, 06901 (+1 844 269 3762)
We help you harden your home against disaster. We offer:
- 24/7 Service: We are ready to perform emergency mitigation when storms hit.
- Free Inspections: We can assess your current vulnerabilities.
- 50+ Years Experience: We know the specific risks of the Tri-State area.
- Family Owned / Operated: A personal commitment to your safety.
- Eco-Friendly Products: Safe solutions for your family.
- Locals / Local Expertise: Serving Westchester, Rockland, and Fairfield counties.
- IICRC Certified: Experts in Water Damage Restoration and Mold.
- Home Improvement License: Qualified to make the structural upgrades your home needs.
- Proven Satisfaction: Check our Google reviews to see how we help neighbors like you.
Common Questions About what does mitigating your house mean
Q: Is mitigation mandatory?
A: In some cases, yes. After a loss, your insurance policy likely has a “Duties After Loss” clause that requires you to mitigate further damage (e.g., stopping a leak, tarping a roof) to maintain coverage. Failure to do so can result in a denied claim.
Q: What is the difference between mitigation and remediation?
A: Mitigation focuses on preventing damage or reducing its severity (e.g., drying out a wet floor to stop mold). Remediation focuses on removing a contaminant that is already present (e.g., removing mold that has already grown).
Q: How much does a wind mitigation inspection cost?
A: Prices vary, but typically it costs between $75 and $150. Given the potential savings on your insurance premium, it often pays for itself in the first year.
Q: Can I do mitigation work myself?
A: Simple tasks like cleaning gutters or extending downspouts are DIY-friendly. However, structural changes like roof tie-downs, electrical elevation, or mold remediation should be handled by licensed professionals to ensure they meet building codes and safety standards.
Q: Does mitigation guarantee no damage?
A: No. Mitigation reduces risk; it does not eliminate it. A fortified roof can still be damaged by a massive tree fall, but it is far less likely to be ripped off by wind alone.
Q: What does radon mitigation mean?
A: This is a specific type of environmental mitigation. Radon is a naturally occurring radioactive gas that can seep into homes from the soil. Mitigation involves installing a ventilation pipe and fan system to draw the gas from beneath the foundation and vent it safely above the roofline.
Q: Will insurance pay for proactive mitigation?
A: Generally, standard homeowners insurance pays for repairs after damage, not proactive upgrades. However, some government grants (like FEMA’s Hazard Mitigation Grant Program) may be available for homeowners in high-risk zones.
Q: How do I know if my home needs mitigation?
A: If you live in an older home, it likely falls short of current wind and flood codes. A professional inspection by a restoration or structural engineer can identify your specific weak points.
Conclusion: Action beats Anxiety
Disasters are inevitable, but significant damage is often optional. Understanding what does mitigating your house mean empowers you to take control of your property’s future. It shifts you from a passive victim of the weather to an active protector of your home.
Start with the small steps—check your gutters, test your sump pump. Then, consider the larger investments that provide peace of mind. Your home is your sanctuary; make sure it is built to last.