You need a clear, practical plan when your home shows signs of fungal growth after heavy rain or high humidity. This guide lays out a professional-grade approach that prioritizes safety for your family and property.
Expect step-by-step coverage: how crews find and fix water damage, set up containment with negative pressure, remove damaged materials, and verify that spores no longer threaten indoor air. Certified methods and third-party testing protect your investment better than DIY fixes.
The work typically spans one to five days depending on severity, location, and materials affected. You’ll learn the timeline, cost drivers, and the crucial differences between routine cleaning and full removal by a qualified restoration company.
Key Takeaways
- Professional teams stop the source, contain spread, and verify safe results.
- Fixing water damage first prevents repeat issues and wasted expense.
- Certified containment and HEPA filtration reduce airborne spores during work.
- Most projects finish in days; severity and materials affect the timeline.
- Choosing a restoration company lowers health risks and long-term damage.
Introduction
When damp spots appear or a musty odor lingers, quick action protects your home and health. You need plain guidance on risks and a clear path forward. Basic knowledge helps you spot trouble, but certified remediation offers the safest, most thorough solution.
Recurring leaks, condensation, and high humidity create ideal conditions for growth in key areas: bathrooms, basements, attics, kitchens, and around windows. Fixing the source of water keeps problems from returning and preserves structure and value.
Professionals follow proven steps: assess the area, isolate work zones, control air with HEPA filtration, remove damaged materials, and document results. Acting today cuts repair scope, lowers costs, and protects occupants with sensitivities.
- Quick inspection: prioritize vulnerable rooms.
- Moisture control: stop leaks and reduce humidity.
- Certified work: containment, filtration, and proper disposal.
Throughout this guide you’ll gain practical knowledge to recognize serious conditions, get the right help, and move from identification to a certified resolution with confidence.
Key Takeaways
Choose professional work to protect your home and health. A trained crew fixes the water source first, seals the area, and uses HEPA controls so spores do not spread during the job.

Professionals follow proven steps: repair leaks, isolate the space with negative pressure, remove badly affected porous materials, clean non-porous items, and dry thoroughly before replacement. This approach limits repeat damage and reduces long-term costs.
- Source control: If the water problem stays, the treatment will fail and issues return.
- Containment and air control: Sealed barriers, negative pressure, and HEPA filtration keep spores from moving into clean areas.
- Material decisions: Porous items often get removed; solid surfaces are cleaned and verified clear.
- Health and safety: Hidden contamination and black mold raise exposure risks; trained teams protect occupants during every step.
- Verification and timeline: Visual clearance, no musty odor, and acceptable moisture readings signal success; most projects finish in 1–5 days.
When in doubt, book experts. Attempting complex DIY can spread spores and worsen problems. The right team documents each step so you can trust the results and keep your living area safe.
AI Overview
Automated tools highlight anomalies in environmental readings so you can target inspections. AI excels at spotting patterns in humidity maps, sensor feeds, and thermal scans. That helps crews prioritize where to open walls or check HVAC runs.
How AI assists in moisture detection and pattern analysis
AI can correlate time-series humidity and temperature to reveal hidden wet zones. It flags trending levels and links them to building systems, reducing time wasted on low-risk areas.
Limits of AI tools in identifying hidden risks and ensuring safe removal
Software cannot build barriers, operate HEPA equipment, or perform safe disposal. Complex cavities, mixed materials, and real-world access issues still need hands-on checks and tools that only technicians use.
Why expert judgment and certified procedures still lead the work
Use AI as a supportive system, not a substitute. Certified crews blend data with field knowledge to set containment, measure pressure, and decide when to remove porous items versus clean surfaces.
- AI spots likely hotspots and focuses inspections.
- Sensors flag elevated air and humidity trends; professionals interpret readings.
- Final clearance, sequencing, and re-entry rely on trained judgment, equipment, and verified procedures.
Understanding Mold Growth, Health Risks, and Where It Spreads
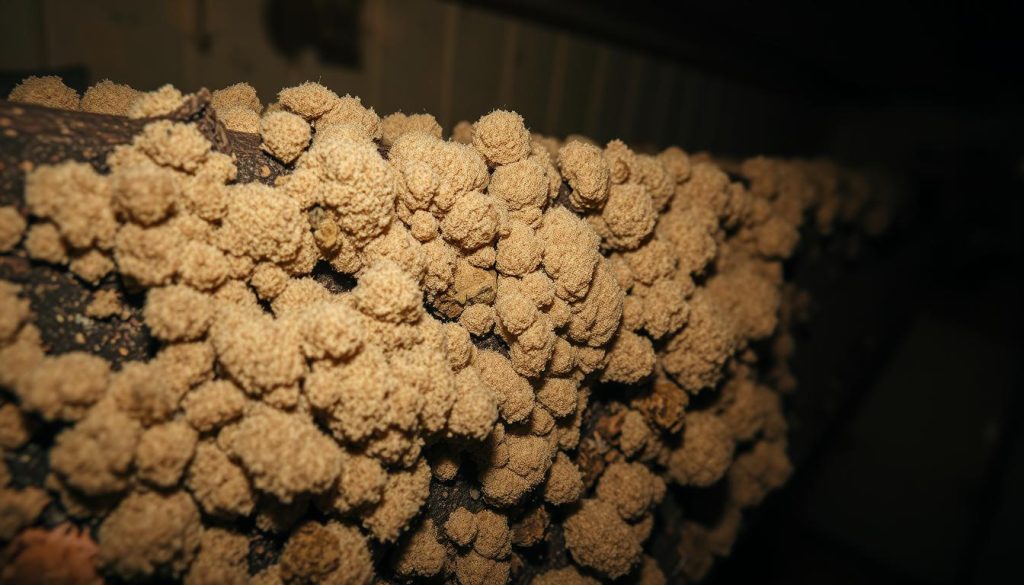
Hidden damp spots and a persistent musty smell often signal active fungal growth behind walls or under floors. Biology favors spores when three things meet: moisture, organic material, and still air. Small colonies expand quickly after leaks or chronic high humidity.

Common warning signs
Musty odors, visible colonies, water damage stains, warped trim, and rusty fasteners are early clues. Sometimes family members feel unwell with coughing or allergy-like symptoms before you see any spotting.
Health impacts and black mold concerns
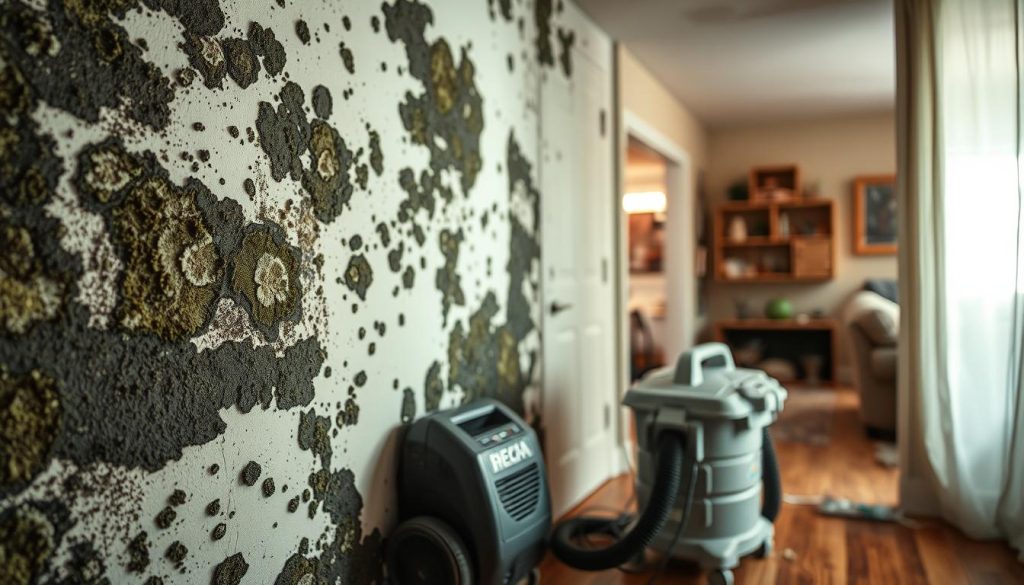
Exposure to airborne spores and possible mycotoxins can aggravate asthma and allergies. Stachybotrys chartarum (black mold) favors very wet conditions and often colonizes drywall and paper-backed materials. Prompt professional assessment limits long-term health effects.
High-risk areas to monitor
Pay close attention to bathrooms, basements, attics, kitchens, windowsills, and ductwork. HVAC systems can carry spores through air pathways and worsen indoor air quality.
- Growth accelerates with moisture, organics, and stagnant air.
- Small patches may signal broader water damage behind surfaces.
- Control humidity, improve ventilation, and call a pro quickly to limit spread.
What Is Mold Remediation Process
Start with targeted fixes and containment so cleanup does not spread spores through your home. A clear sequence reduces health risk, limits repair scope, and speeds restoration.
Identify and stop the water source
First, technicians locate leaks or seepage. Fixing water keeps future mold growth from returning and makes the rest of the work effective.
Isolation and containment
Crews install plastic barriers and set negative pressure to keep the work area sealed. That control prevents spores from moving into clean spaces.
Removal of porous materials
Severely affected drywall, insulation, and carpet get removed, double-bagged, and discarded. This removal avoids cross-contamination during cleanup.
Cleaning, disinfection, and HEPA work
Non-porous surfaces are treated with approved solutions, then HEPA vacuumed and scrubbed. The right tools—air scrubbers, HEPA vacs, and manometers—ensure thorough cleaning and air control.
Drying and rebuild
Dehumidifiers and air movers run until moisture readings meet targets. After clearance, technicians replace removed materials and document each step with photos.
- Key benefit: This sequence is how a remediation company remove mold without spreading it.
- Timeframe: Most jobs finish in 1–5 days depending on severity and materials.
- Learn more: For practical tips, see mold remediation tips.
Containment, Air Filtration, and Spore Control
Containment and controlled airflow stop contaminants from moving into clean parts of your home during a cleanup.
Setting up barriers, negative pressure, and protected pathways
Technicians seal doors, vents, and openings with plastic sheeting to isolate the work area. They create protected pathways so crews can move tools and debris without contaminating living spaces.
Negative pressure makes sure contaminated air flows out of the containment and not into the rest of your house. Teams monitor pressure with manometers to keep the seal effective.
HEPA air filtration, vacuuming, and safe bagging for disposal
Continuous HEPA filtration captures airborne spores and fine dust generated during removal and cleaning. HEPA vacs clean surfaces, and affected materials are double-bagged for secure disposal.
- Barriers keep clean rooms safe while crews stage equipment and move materials.
- HEPA systems and vacuums limit re-aerosolization and protect HVAC runs from cross-contamination.
- Without these controls, partial removal can push spores deeper into cavities and cause more damage.
For complex or post-water jobs, rely on trained teams who run and monitor these controls. If you need professional post-work care, consider post-construction services to restore affected areas safely.
Black Mold and High-Risk Conditions
Black colonies on drywall or soaked insulation signal a higher risk and call for urgent action. Stachybotrys chartarum favors persistently wet, cellulose-based materials, so these sightings often mean deeper colonization than surface spotting.
Recognizing stachybotrys chartarum and heightened safety protocols
Black mold often indicates long-term moisture and can penetrate paper-backed products deeply. Long-soaked materials are usually non-salvageable, so removal is the safest choice.
Professionals extend containment and use enhanced PPE to limit spread. They trace persistent water to stop recurrence and expand the work area proactively to find hidden pockets.
When elevated spore levels and health conditions demand professionals
Elevated spore levels or symptoms among occupants mean you should bring in experts immediately. High-risk situations—infants, older adults, or those with respiratory or immune sensitivities—require strict exposure control.
- More aggressive removal: paper-backed drywall and insulation often must be discarded.
- Robust controls: stronger containment, careful waste handling, and clearance testing.
- Verification: visual checks, lack of musty odor, and acceptable moisture readings guide return-to-use decisions.
Documenting conditions and corrective steps helps with health decisions and gives peace of mind. Choosing expert remediation for black mold is the safest path to restore a healthy living area.
Materials, Contents, and Surfaces: What Can Be Saved and What Must Go
A careful inventory of damaged items helps you save value while avoiding future recurrence. Begin by separating belongings from the affected area so cleaning does not spread contaminants. Tag and photograph items to track decisions.

Porous vs. non-porous: drywall, insulation, furniture, and subfloors
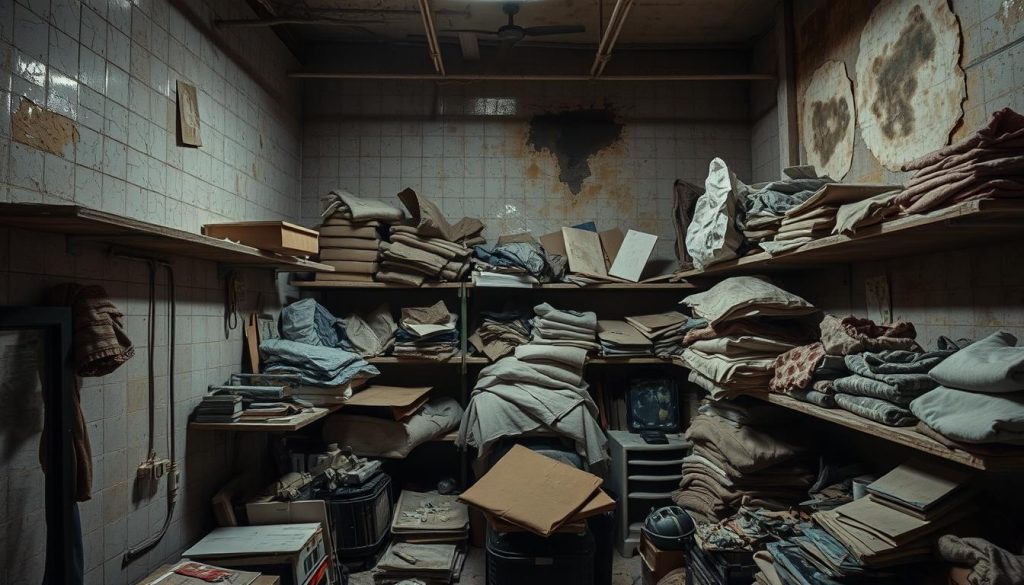
Porous materials such as drywall, insulation, and some carpets often hide deep contamination. These items are usually removed and double-bagged when wet or heavily colonized.
Non-porous surfaces like tile, sealed wood, metal, and plastics can be HEPA vacuumed and disinfected, then dried and returned to use.
Cleaning salvageable items and when replacement is safer
Furniture choices depend on construction and fabric. Solid wood may be cleaned; waterlogged upholstery and padding usually need replacement.
- Use moisture readings to decide if materials can dry in place.
- Balance cleaning labor against replacement cost and longevity.
- For black mold or stachybotrys chartarum, favor removal over restoration.
Protecting HVAC systems to avoid cross-contamination
Isolate HVAC runs during work, replace filters, and inspect ducts to stop redistribution. Protecting systems prevents cleaned areas from becoming recontaminated.
Verification, Drying Targets, and Post-Remediation Evaluation
Before finishing repairs, professionals use measurable checks to confirm the affected area is safe and dry. This final phase ties together moisture logs, visual inspection, and air sampling so you have clear evidence the job met standards.
Moisture metrics, visual clearance, and odor checks
Moisture readings show structural materials reached acceptable targets for your climate and materials. Technicians compare logs over time to avoid premature closure.
Visual clearance inspects edges, cavities, and transitions for residue or staining. Inspectors run HEPA equipment until particle capture stabilizes.
Odor checks confirm no persistent musty smell remains; lingering odor often points to hidden damage or insufficient drying time.
Third-party evaluation vs. in-house verification considerations
Many homeowners trust a remediation company’s in-house protocols, complete with before/after photos and moisture charts. Others request a third-party evaluation for independent assurance and documentation for insurance or resale.
- Documentation includes photos, moisture logs, and a summary of cleaning and step-by-step actions taken.
- If any problem is detected, crews address it immediately rather than closing the project early.
- Final guidance covers how long to wait before repainting or reinstalling finishes to protect drying progress.
- Proper verification reduces callbacks and ensures the area stays free of recurring damage.
Prevention Strategies to Keep Mold from Returning
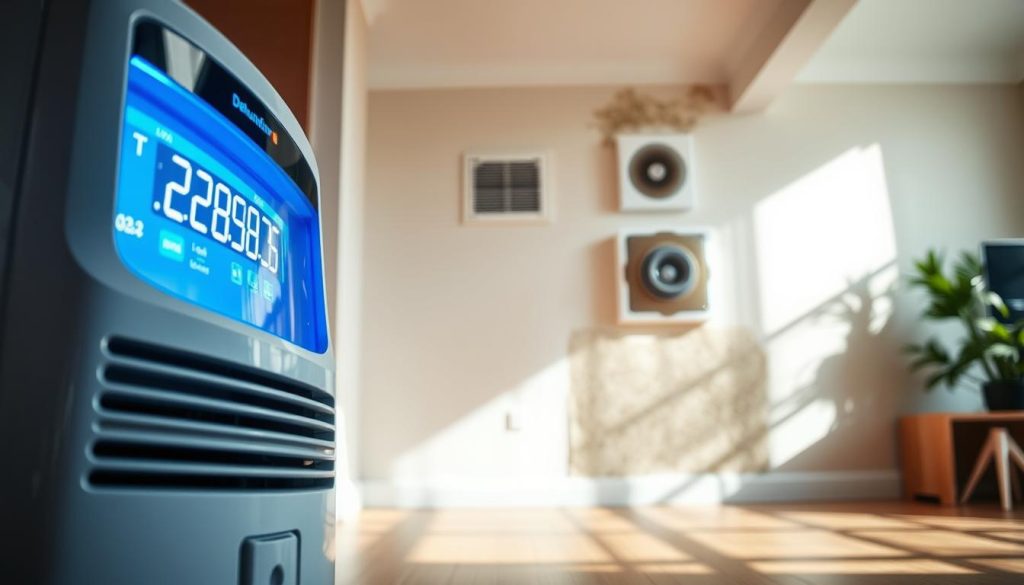
Start with simple, regular habits that keep dampness from taking hold in your home. Keep indoor humidity below 50% with dehumidifiers and by running exhaust fans in kitchens and bathrooms. That target stops moisture-driven problems before they start.
Fix roof, window, or plumbing leaks at once. Quick repairs prevent water from seeping behind finishes and causing hidden damage. After storms, inspect basements, attics, and exterior walls for any sign of intrusion.

Choose finishes that resist moisture and clean easily. Use tile, sealed wood, or metal in high-risk areas and elevate furniture slightly off basement floors. Vapor barriers and proper insulation on cold pipes reduce condensation and lower the chance of mold growing.
- Keep humidity under 50% with dehumidifiers and ventilation to prevent mold in moisture-prone areas.
- Repair leaks fast so conditions do not favor mold growth behind finishes.
- Schedule seasonal walk-throughs and inspect after heavy rain to spot issues early.
- Improve outdoor grading and drainage to direct water away from your foundation.
Simple solutions offer long-term protection. Regular cleaning in risk areas, maintaining exhaust fans, and a short post-remediation maintenance plan help keep your results intact and reduce future mold removal needs.
DIY Limitations vs. Professional Mold Remediation
Deciding between a DIY cleanup and hiring pros starts with an honest look at size, location, and water history. For very small, accessible spots on hard, non-porous surfaces, a careful DIY approach can work.
Small surface growth realities—and hidden pitfalls
DIY may suit tiny patches under about 10 square feet on tile, glass, or sealed wood. Clean, dry conditions and no lingering odor help you avoid repeat problems.
Hidden moisture behind drywall or under flooring often hides deeper damage. Without proper containment you can spread spores to clean rooms and HVAC runs.
Why complex jobs, water damage, and HVAC contamination need experts
A professional remediation company brings trained crews, calibrated instruments, and specialized equipment like HEPA air scrubbers and manometers.
- Large or porous damage, recurring odor, or multi-room spread requires a remediation company.
- Specialized mold remediation services handle disposal rules, documentation, and safe re-entry guidance.
- Experts reduce callbacks and shorten total time by diagnosing hidden issues early.
When in doubt, hire professionals. If the scope is unclear, a quick assessment prevents bigger problems and protects your household during the job.
Timeline, Cost Drivers, and What to Expect During the Job
Set realistic timing expectations up front so you can plan around work, noise, and equipment in your home.
The typical timeline runs from one to five days depending on severity and the materials involved. Jobs that uncover hidden cavities or long-standing water damage can take longer.
How scope and access affect duration
Size of the affected area, how long moisture sat, and whether HVAC or crawlspaces are involved shape the schedule. Tight access, multi-level containment, or opening walls adds time and cost.
Daily workflow and communication
Crews brief you daily on each step — containment, removal, drying, and replacement — and share photos and moisture logs. A reputable restoration company keeps updates clear so you track progress and next steps.
- Most projects finish in 1–5 days; complex damage extends timelines.
- Cost drivers: area size, material types, moisture duration, and system involvement.
- Expect transparent documentation of removed materials and reconstruction needs.
Call to Action: Schedule Professional Mold Remediation Today
Act quickly when you spot discoloration or damp spots to limit damage and cost. Don’t wait—moisture lets spores spread, and early action keeps repairs smaller and safer.
Schedule certified mold remediation services now to get source repair, containment, removal, HEPA cleaning, drying, and replacement. Most jobs finish in 1–5 days depending on scope, so calling today cuts risk and expense.
- Get help fast: certified teams combine source repair and HEPA controls to remove mold thoroughly.
- Transparent plan: expect a clear scope, daily updates, and strict protection for clean areas.
- Restore quickly: rely on our remediation company and restoration company experience to return your home to safe use.
To book an assessment and receive a tailored timeline, call or visit us today:
PureDry Mold & Remediation
7428 Lakeview Parkway, Suite 210, Dallas, TX 75218
Phone: (214) 555-0198
Wrap up your action plan with clear next steps so you can protect health, restore finishes, and prevent recurrence.
Difference between removal, remediation, and restoration
Removal targets visible contamination. Remediation includes containment, source repair, and verification. Restoration returns walls, flooring, and finishes to pre-loss condition.
Timeline and occupying your home
Most jobs take one to five days depending on scope and damage. You may stay in unaffected areas; contained zones remain off limits for safety and air control.
When to DIY vs. call pros
DIY suits tiny spots on hard, non-porous surfaces only. Call professionals for larger areas, HVAC involvement, persistent odor, or significant water damage.
Will cleaning alone solve recurrence?
No. Unless you fix the water source and control humidity, regrowth will occur. Source repair and drying are essential to a lasting outcome.
How do you verify success?
Verification combines visual checks, odor absence, moisture targets, and documented steps. Ask for before/after photos, moisture logs, and clearance notes.


